
I stumbled across this tutorial on Pinterest and it really caught my eye because it was really simple to do, didn't take much time, and you can adjust it to whatever you are using them for.

Here are all of the supplies that you need to create these really cute pillow boxes. You need a 12x12 piece of paper. I chose to use pattern patter so I could decorate it after with other papers from the line. You will also need adhesive of some kind, a butter knife or bone folder, scissors, a bowl or CD and your 12x12 trimmer.

To make the pillow box that I made you need to cut a 8x10 piece of paper so that when you are finished it will be approx 4 inches tall and about 8 inches long.

Then you are going to score a half inch fold on the longer side of your paper to create a flap to glue your box together.

Next, you need to fold the folder in half up until the edge is covering the flap you just created.

Using your bowl or CD round off both short ends of your folded paper. Then cut on the pencil lines to take away the scrap paper.

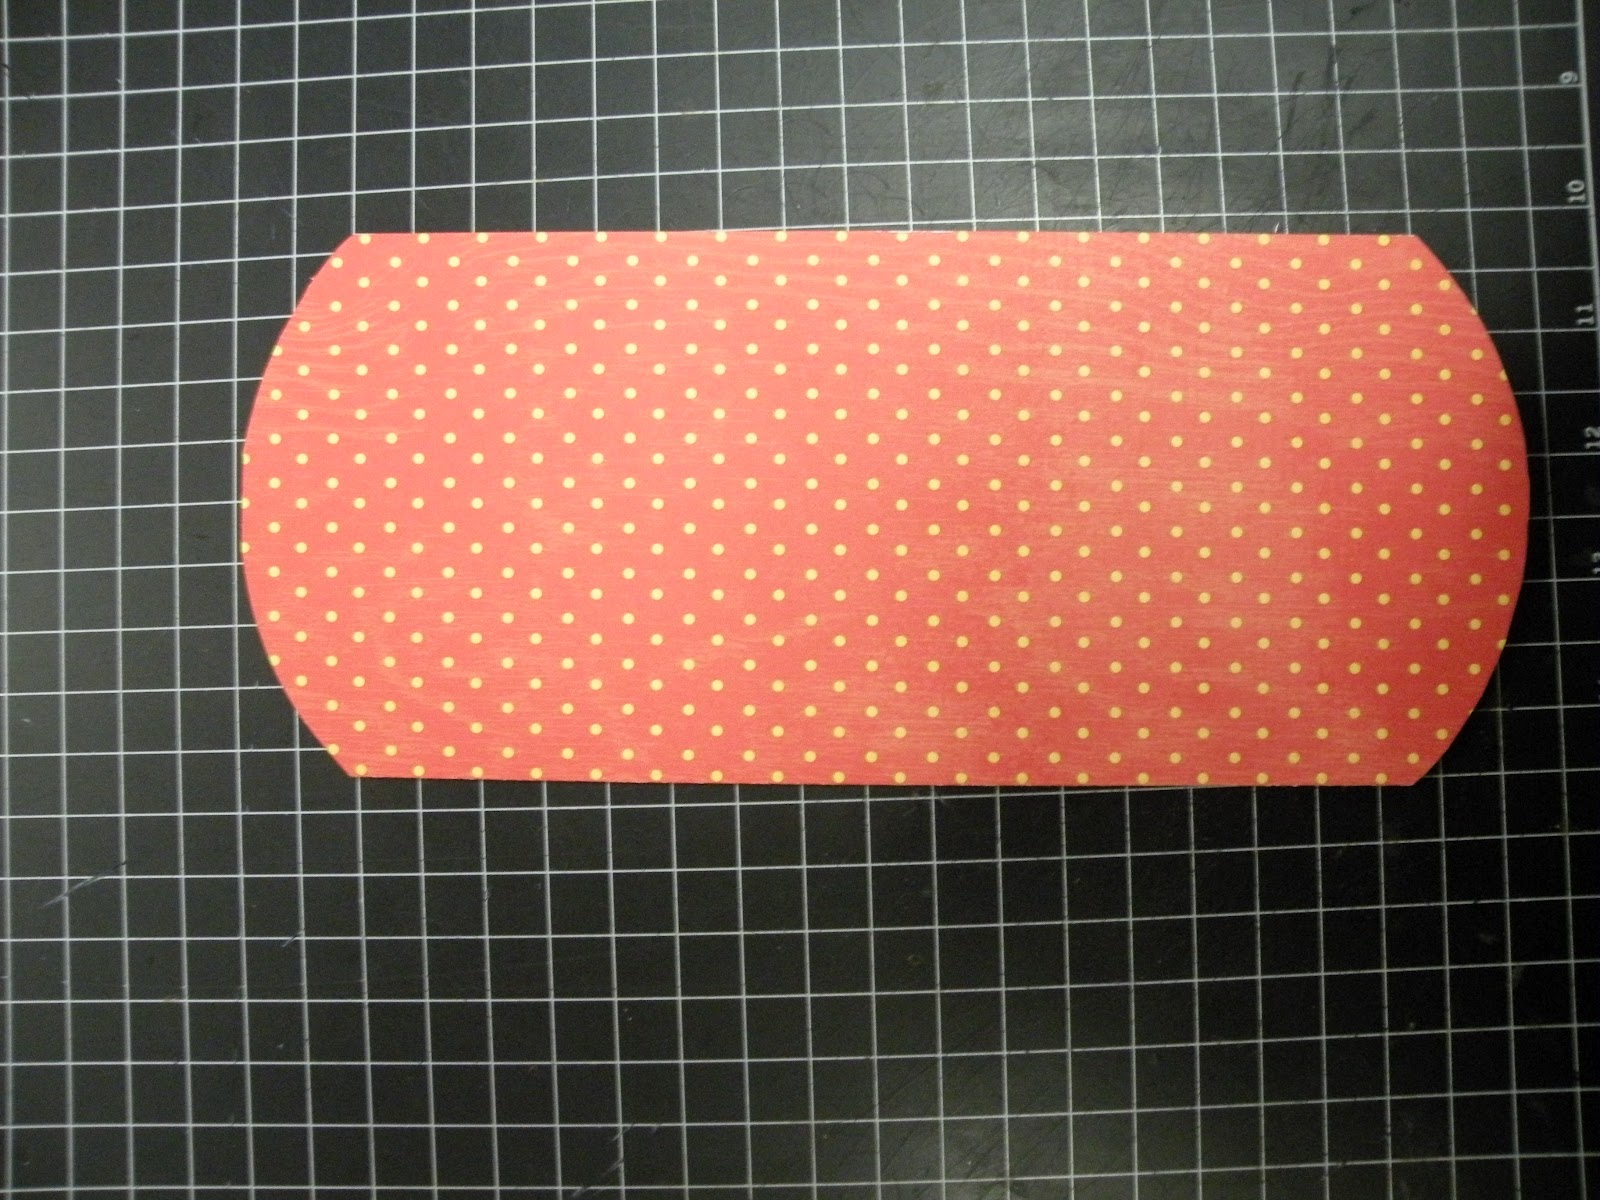
Then you will have something that looks like this.
Open up your folded paper. Using the butter knife or bone folder and the bowl or CD as a guide, score the outer flaps. Make sure you only score it. Make sure you aren't pressing to hard otherwise you will cut through the paper. The arcs will create almond-shaped indentations.

After scoring the paper you should have indentations that look like this.

and towards the sides should look like this.

After you have your score lines created you need to fold on your lines to create the flaps that will close your pillow box.

Once you have folded on all four score lines apply adhesive to your 1/2 inch flap and glue your pillow box together. Once your adhesive has set fold in your flaps on the ends of your pillow box.

Afterwards you can decorate your pillow box for any theme. I used mine as a party invitation idea.
I added a 1 inch stripe along the box and attached a popsicle for the summer themed party and popped it up to add a little more dimension.

I used some stickers that I had in my stash to decorate the front with Happy Birthday.

Finally inside the pillow box I created was a matching invitation for the birthday party.

If you need any further directions you can visit the blog I found it on here. I hope you guys give this a try it was really easy to do and creates a really cute project at the end. I would love to see any projects that you create if you could upload them to the Two Scrapbook Friends layout gallery.


2 comments:
Love this. You did a great job!
Love this. You did a great job!
Post a Comment